|
 |
Freshen Your Photo on"Cropping, Padding, & Extension"
Frequently Asked Questions about how "Freshen Your Photo" works |
|
|
If only all photograph sizes were proportional!
Frustratingly, they are not. 4x6 doesn't equal 5x7 which doesn't equal 8x10, and so on.
If you don't quite get why, think of fractions. 4/6 doesn't equal 5/7!
So when someone brings us a standard sized shot like 4x6 and wants to enlarge it, that becomes 8x12, not 8x10!
Likewise if we find some old, odd size (or a photo Aunt Shirley cut with a scissor), we could be starting with
something strange, like 3x6! No one can print those sizes; the paper doesn't exist.
That doesn't mean we're out of luck.
It means we have to choose between four options:
1) Cropping
2) Stripe Padding
3) Frame Padding
4) Extensions
This short video quickly and clearly explains the four options. Each of them are the right
option for different photos so knowing all four is helpful in discussing what you'd like.
If you prefer reading to video, scroll past it for a text explanation, but the video really helps.
1) Cropping is the simplest to understand. it means cutting out part of the picture to make it the proportions we want.
Sometimes, this is simple, like cutting away unnecessary sky (if we need to get rid of some vertical space) or
getting rid of a building to the right that we don't care about (if we need to get rid of some horizontal space).
With these methods, we can make a picture fit common sizes.
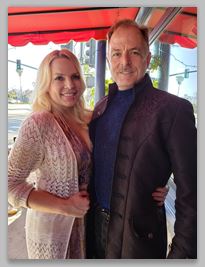
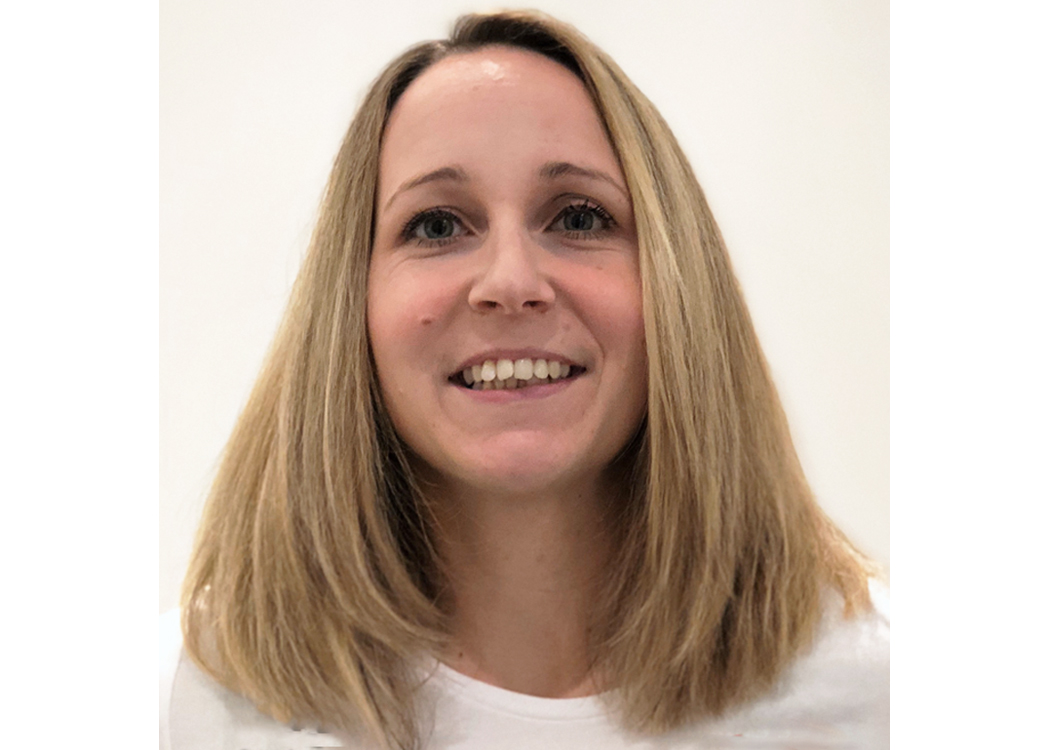
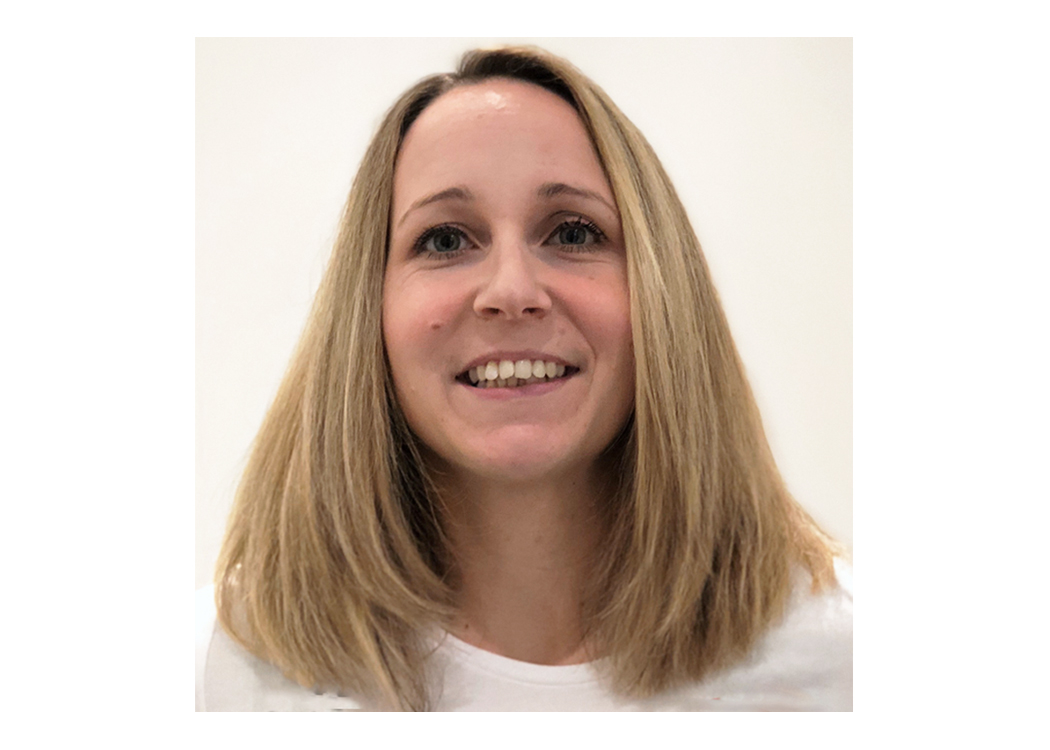
For instance, in this shot, we could
cut his sleeve to make it 5x7 or we could cut from the bottom to make it work
8x10.
We could also have taken a bit from the top instead of quite so much from the
bottom; that's personal choice.
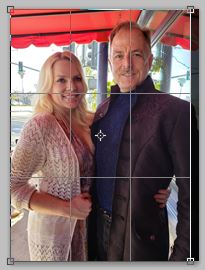
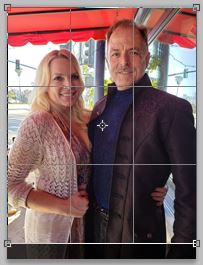
Original Odd Size What 5x7 would cut on the right What 8x10 would cut on bottom
Sometimes, especially with portraits, there's really nothing to cut. We can't lose a forehead or chin vertically.
We can't lose ears horizontally, so what can we do?
2) Stripe Padding is the easiest solution in these cases. With padding, we enlarge only to the point where cropping would occur
and then add either white stripes or black stripes (you choose) to the needed side to get the right size.
You can either choose to live with the stripes or, after printing, have your shot custom framed so the stripes get cut off.
Here's an example of padding. This shot was 4.8" x 5"...nearly square and not a printable size.

The client didn't want to lose any of her hair at all by cropping.
So we showed her what white padding would look like to make it printable at 5x7:
Sometimes the padding is on the sides; sometimes it's on the top and bottom...this is something we can discuss.
Padding can be any color, but white and black are the most common choices.
3) Frame Padding is a variation on the option above.
Rather that two stripes, we make her picture a little smaller so that we can pad all around.
Note the white border all around in this one.
The padding will be thicker on some sides than others, but sometimes it's still a more pleasing look,
if you can live with the central image being a bit smaller:
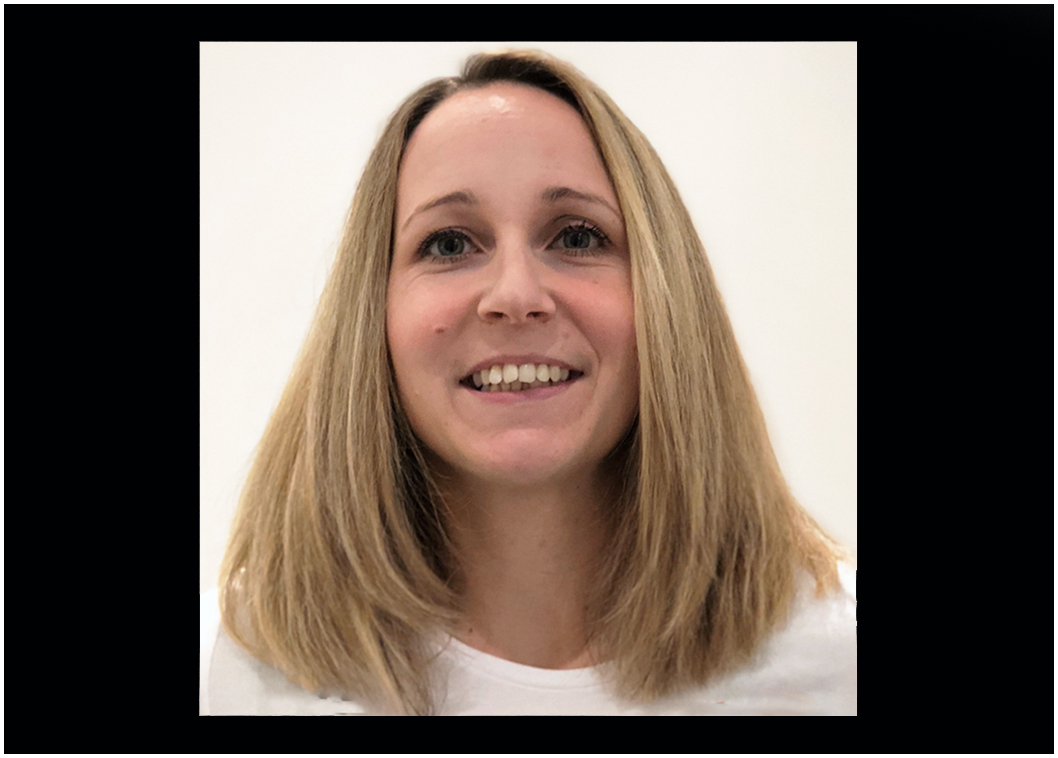
In the end, she opted for a black frame padding, as seen below.
(There wasn't a white edge; that's just so you can see it on our black page.)
4) Extension is the fourth option. It's more work and adds cost, but can sometimes be very nice, depending
on the subject matter. In extension, we use aspects of the environment of the shot to fill out how it
might have looked if the camera had actually taken a 5x7 shot.
At some point in the future, we may do that with the photo above to show you what it could look like,
but since she was happy with frame padding, we don't have that example on her.
But here's another one where we did extension:
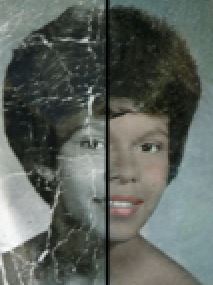
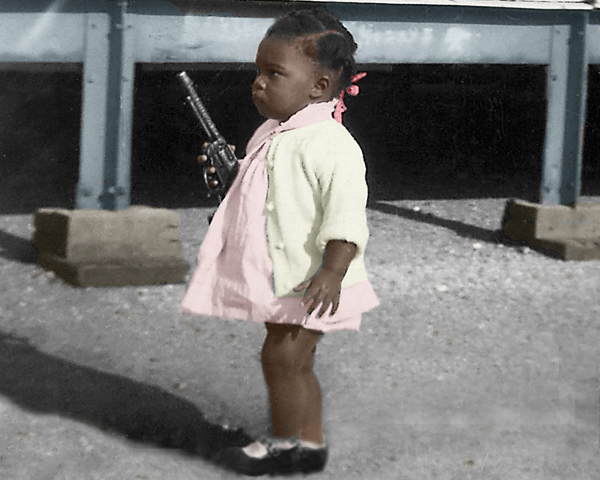
From this original which was not a regular size...
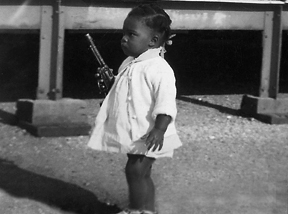
to this printable 8x10 shape via extension (and, obviously, we colorized it, too) by recreating more
of what the bottom might have looked like, by creating shoes and cement there:
![]()